
Tiles are getting bigger and thinner. It’s not unusual to have to fix slabs of up to 3m which are only a few millimetres thick, and of course they are fragile and easy to damage. Proper handling, full adhesive coverage, and allowing enough room for movement are the keys to a successful installation.
Follow the guidelines below, and use Kerakoll’s high-performance adhesives and grouts for a flawless, durable finish which more than meets the British Standards.
Handling
Always use proper lifting equipment to avoid damaging the edges and corners of these delicate tiles
1. Tiling to floors
Substrate prep
Make sure that the substrate is stable and level. Tiling over the top of an undamaged tiled floor is ideal.
Otherwise, use a self-levelling compound like Levelflex Gel or Proflow MVS, and allow enough time for it to set, to be sure that the substrate doesn’t move after the tiles are installed.
Fixing the tiles
Opt for H40 gel-adhesives, which provide excellent wetting properties, do not shrink, and hold their shape, fully supporting the tile. The Standards recommend spreading adhesive on the floor for one tile at a time, but H40 Gel’s open time of up to 60 minutes makes skinning extremely unlikely, meaning you can work at your own rhythm.
You should never butt-joint the tiles. The grout joints for 3m long tiles need to be at least 5mm to accommodate any movement and protect the fragile edges and corners. Build in movement joints to accommodate possible substrate shrinkage or movement.
It is crucial to ensure full adhesive coverage on the back of the tile to prevent cracking. The best way to do this is to back butter by applying adhesive to both the tile and the substrate to ensure full coverage.
Grouting and movement joints
Before grouting make sure that the joints are clear of adhesive so that the grout is deep enough to avoid cracking. Then choose the best shade of Fugabella Color grout for your installation. The range is available in 50 colours, highly durable, waterproof, colourfast, and low in VOCs (GEV-Emicode 1).
Fill movement joints with Silicone Color, which is available in matching shades to Fugabella Color for a seamless finish.
2. Tiling to walls
Substrates
Any movement will cause the tiles to crack. Use a solid, non-flexible substrate such as a tile backer board. Tiling onto plywood is no longer permitted under British Standards.
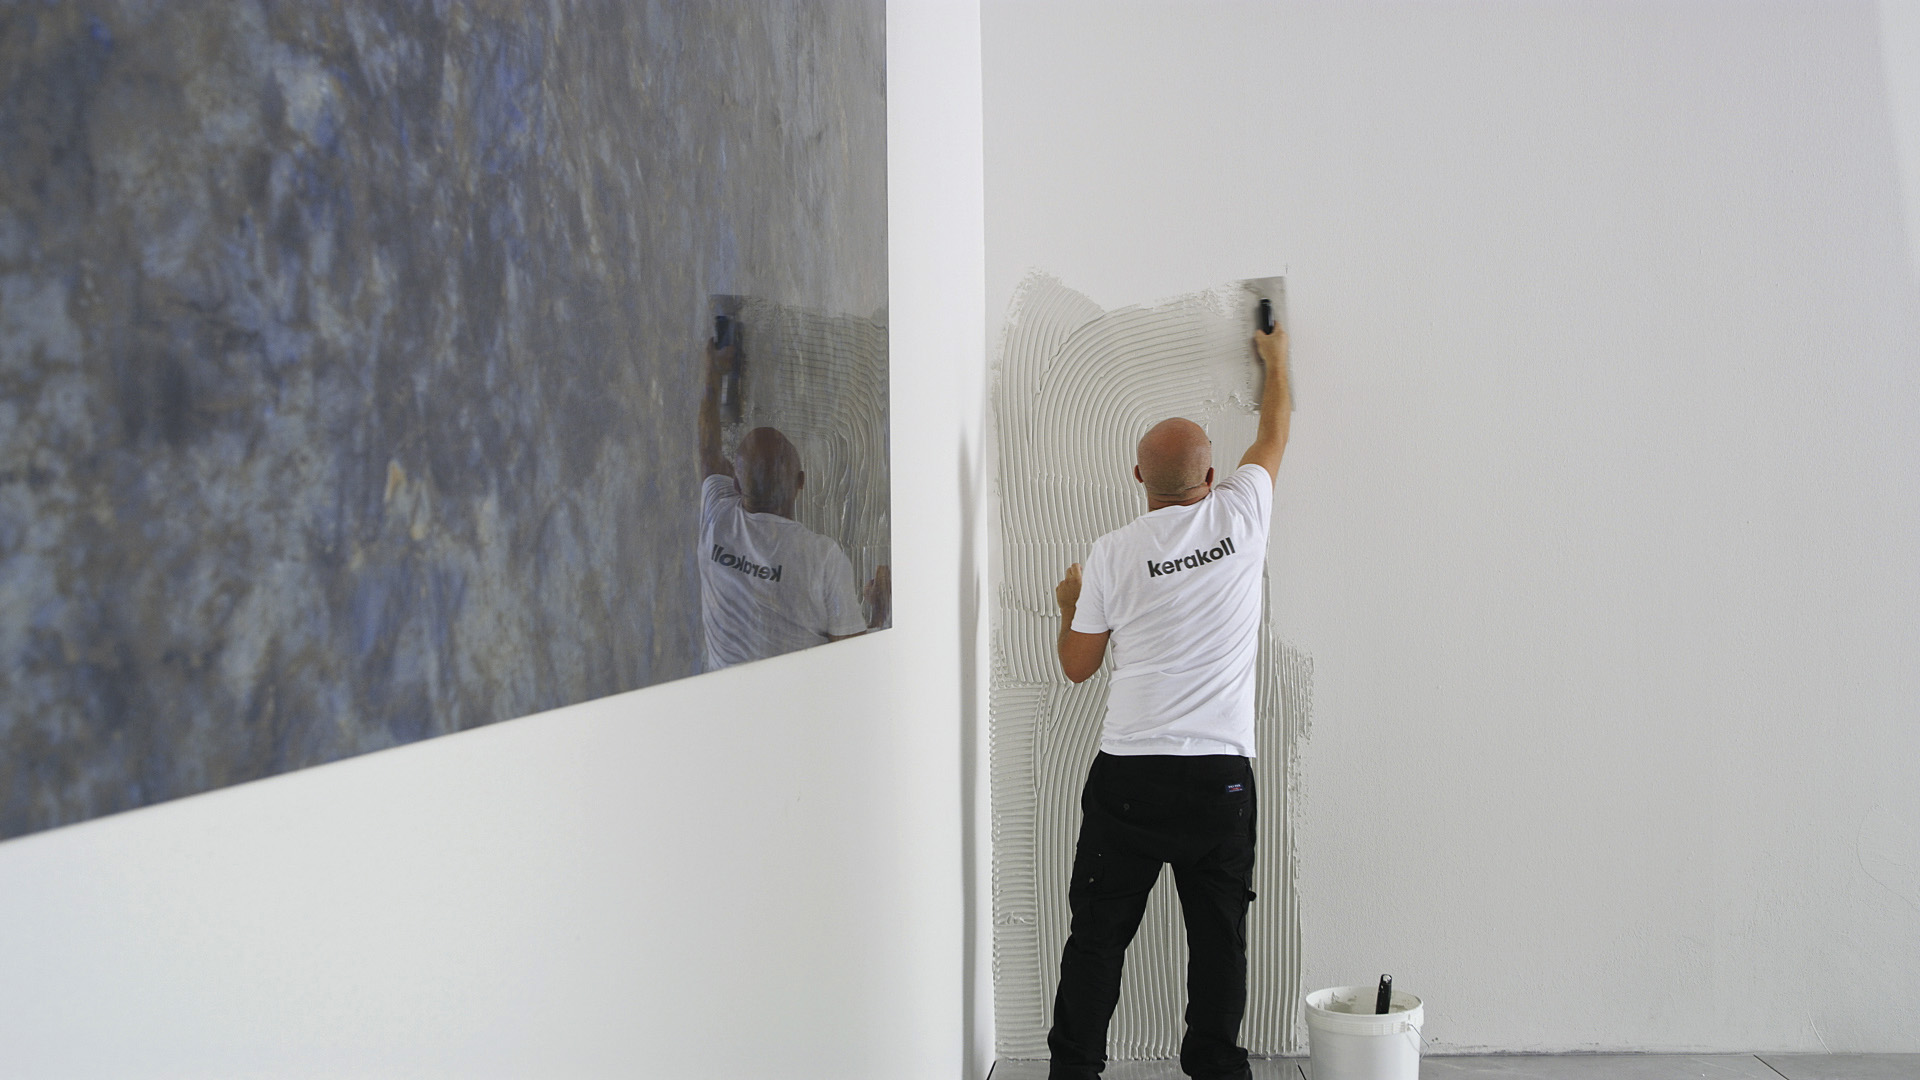
Fixing the tiles
Use a flexible high-grab adhesive, such as the Setaflex range or H40 gel-adhesives. The same principles apply as for floor tiles so don’t butt-joint, leave at least 5mm joints, and only spread as much adhesive on the wall as you are comfortable you can cover with tiles before the adhesive starts to dry.
Grouting and movement joints
Apply Fugabella Color grout and Silicone Color for movement joints, making sure that the joints are free of adhesive to avoid cracking.
Watch this video to see how to fix large tiles using H40 gel-adhesives.